- an old book
- hot glue gun
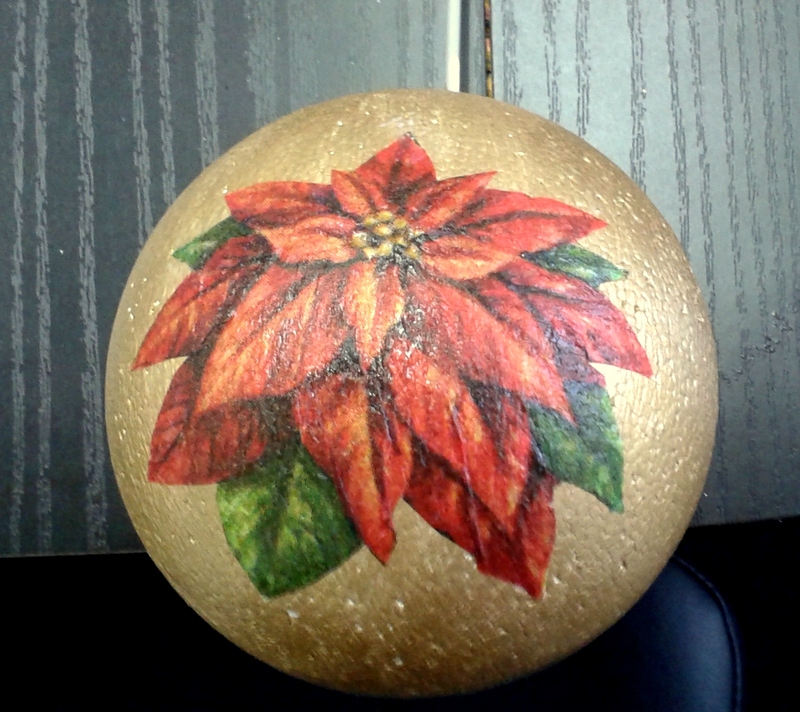
- Christmas ornaments
- stapler
- cardboard
- transparent tape

1. We get an old book, perhaps from antique shop.

2. We cut the binding of the book.

3. Slim and trim.We begin breaking the sheets,one by one....untill 120 pieces.

4. Creating the cone.Roll it.Tape it with transparent tape. Every 120 pieces...Good luck and a lot of patience.


5. Stapling the cones..Staple from base cca. 1 cm.


6. We take now the cardboard in a square format.

7. We make in the middle 2 circles , the small one in the middle 4" , the bigger one outside 8".

8. Gluening the cones with hot glue gun in a clock style,12/6, 9/3.

9. First, we make the big circle and second the small one untill we realize a wreath.

10. The last the nice part of the work...tis the wreath in the middle...

What a nice wreath.....for a very nice Christmas!!!


